In this post, let's see how we can set up an Azure DevOps pipeline to Contonius Integrate and Deploy a Docker Image containing a simple ASP.NET Core Web Application to Azure Kubernetes Service (AKS).
This post is another post of a series of blog posts,
- Deploying an ASP.NET Core Application On a Local Kubernetes Cluster
- Pushing Local Docker Image to an Azure Container Registry
- Deploying an ASP.NET Core Application On Azure Kubernetes Service
and if you are landed directly on this post, please consider reading all of them to get the context. It's basically, I have created a docker image with a simple ASP.NET Core Web Application. In the first post, I have deployed that image into a local K8s cluster. Then in the second post, I have pushed the docker image to ACR. In the third post, I have deployed the same image to AKS and the image was picked up from ACR, and everything was manual. And this post, we are going to make it automated, that is when we do a change to our code, we are going to build and push the image to ACR, and then it will get deployed to AKS.
So I have my ASP.NET Core Web Application pushed to Azure DevOps.
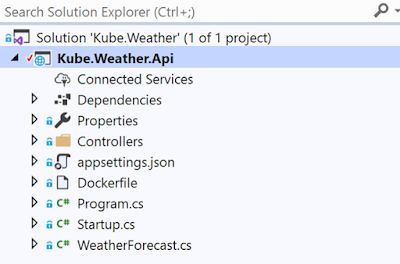 |
| Solution |
Now I am enabling
Multi-stage pipelines from the
Preview features.
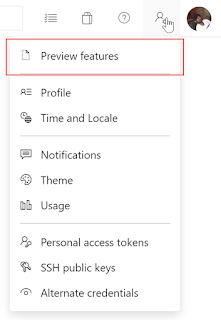 |
| Preview features |
 |
| Multi-stage pipelines |
And let's start creating the pipeline. Click on the
Create Pipeline.
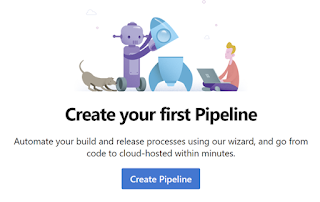 |
| Create Pipeline |
Now, where is our code?
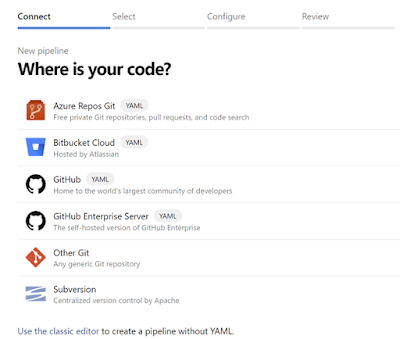 |
| Where is your code |
I am selecting
Azure Repos Git as that's where my source code is in. You can choose your git provider based on wherever you have put your source in.
And it will display the list of repositories and I am selecting my repo.
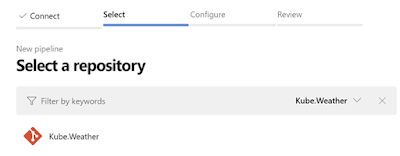 |
| Select a repository |
Next, we need to configure the pipeline.
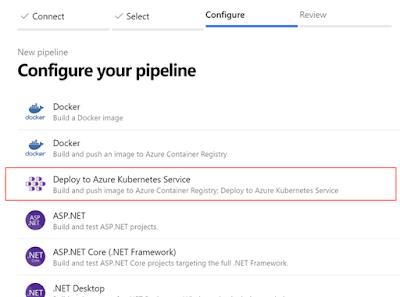 |
| Configure your pipeline |
Here different templates are displayed, what we are going to be using is
Deploy to Azure Kubernetes Service and this was enabled by selecting
Multi-staging pipelines under
Preview features. And now, if you have multiple Azure subscriptions, a side panel will be opened to select the subscription, and you can select the subscription which you have used to create your ACR and AKS.
After that stage, now we need to select the AKS cluster and the ACR.
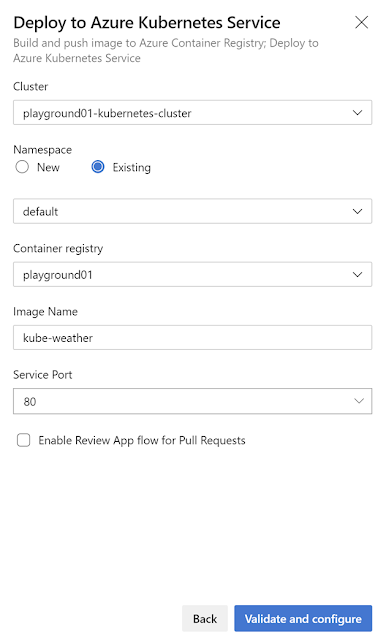 |
| Select the cluster/container registry and the image |
So here the UI is self-explanatory, I am selecting the existing AKS cluster and the container registry. About the
Namespace, all Kubernetes resources, such as pods and Deployments, are logically grouped into a namespace. These groupings provide a way to logically divide an AKS cluster and restrict access to create, view, or manage resources. So here for the demo purpose, I have selected existing and selected
default, and that is the namespace where pods and deployments are created when none is provided. For the
Image Name, I am giving
kube-weather. Service Port is 80. And I am not enabling Review App flow for Pull Requests to keep things simple and I am clicking on
Validate and configure.
And Azure DevOps will create an
azure-pipelines.yml for us.
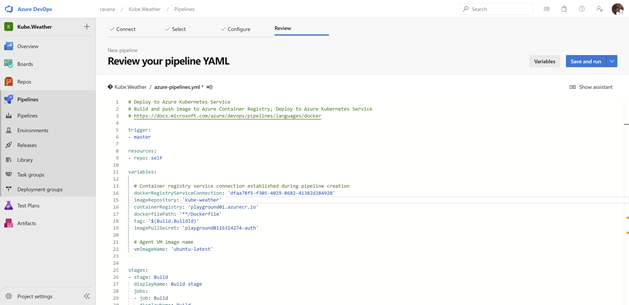 |
| azure-pipelines.yml |
azure-pipelines.yml
# Deploy to Azure Kubernetes Service
# Build and push image to Azure Container Registry; Deploy to Azure Kubernetes Service
# https://docs.microsoft.com/azure/devops/pipelines/languages/docker

trigger:
- master

resources:
- repo: self

variables:

  # Container registry service connection established during pipeline creation
  dockerRegistryServiceConnection: 'dfaa78f5-f305-4029-8682-41382d284928'
  imageRepository: 'kube-weather'
  containerRegistry: 'playground01.azurecr.io'
  dockerfilePath: '**/Dockerfile'
  tag: '$(Build.BuildId)'
  imagePullSecret: 'playground0116314274-auth'

  # Agent VM image name
  vmImageName: 'ubuntu-latest'

stages:
- stage: Build
  displayName: Build stage
  jobs:
  - job: Build
    displayName: Build
    pool:
      vmImage: $(vmImageName)
    steps:
    - task: Docker@2
      displayName: Build and push an image to container registry
      inputs:
        command: buildAndPush
        repository: $(imageRepository)
        dockerfile: $(dockerfilePath)
        containerRegistry: $(dockerRegistryServiceConnection)
        tags: |
          $(tag)

    - upload: manifests
      artifact: manifests

- stage: Deploy
  displayName: Deploy stage
  dependsOn: Build
  jobs:
  - deployment: Deploy
    displayName: Deploy
    pool:
      vmImage: $(vmImageName)
    environment: 'KubeWeather.default'
    strategy:
      runOnce:
        deploy:
          steps:
          - task: KubernetesManifest@0
            displayName: Create imagePullSecret
            inputs:
              action: createSecret
              secretName: $(imagePullSecret)
              dockerRegistryEndpoint: $(dockerRegistryServiceConnection)

          - task: KubernetesManifest@0
            displayName: Deploy to Kubernetes cluster
            inputs:
              action: deploy
              manifests: |
                $(Pipeline.Workspace)/manifests/deployment.yml
                $(Pipeline.Workspace)/manifests/service.yml
              imagePullSecrets: |
                $(imagePullSecret)
              containers: |
                $(containerRegistry)/$(imageRepository):$(tag)
If you read this file carefully, most of them are self-explanatory. But let's go through.
- First, we have a trigger for the master branch. That is when we merge a PR to master branch or on a direct push to master branch, this pipeline will get triggered.
- And then resources.repo means the repository that azure-pipelines.yml file is in, In this case, it's our repo, we really don't need this line.
- Then we have some variables defined based on the information we have selected on the UI.
- And we are doing the build and deploy using a VM and that VM will be running on the latest ubuntu.
- Then we have stages section, where we have 2 sections, one for Build and the other for Deploy.
- Build
- Under here our source in the master branch will get built as a docker image and will get pushed to our container registry as kube-weather and will get tagged with BuildId.
- Deploy
- Under here, we are pulling up the image from our ACR and spinning up a container in our target cluster to an environment named KubeWeather.default (this is the environment name and the namespace). And the deployment is happening using the RunOnce deployment strategy which is simplest.
You can read more about the key concepts and components that are used in Azure Pipelines from here:
Key concepts for new Azure Pipelines users
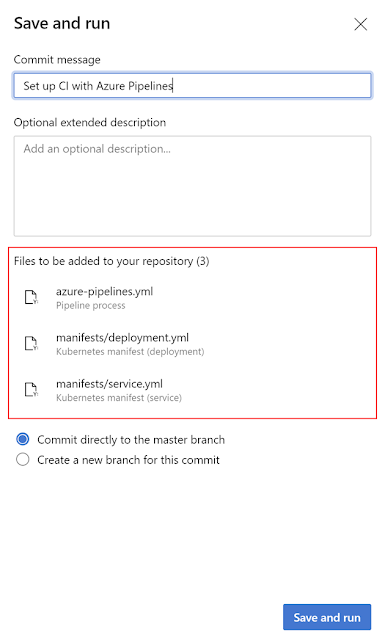
So now, let's click on
Save and run.
 |
| Save and run |
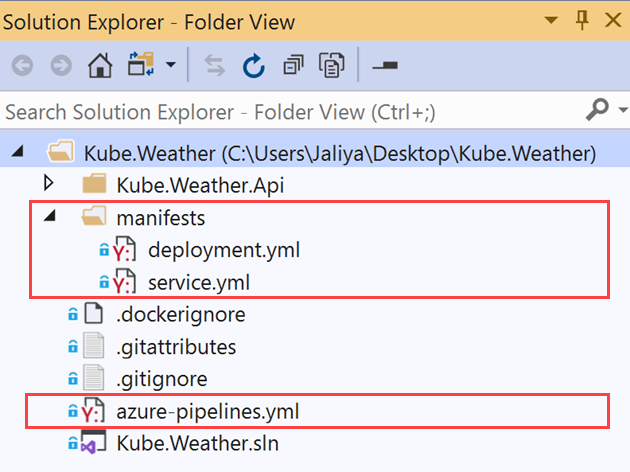
And it's going to add 3 files to our repo,
azure-pipelines.yml, we already have and it's going to add 2 new files (
deployment.yml,
service.yml) to a folder named manifests. In my last post:
Deploying an ASP.NET Core Application On Azure Kubernetes Service, I have added these files manually (if you have read this post). In the solution, I have pushed I don't have these files checked in. Let's see what Azure DevOps is going to create for us. I am hitting on
Save and run.
After some time, Build and Deploy is succeeded.
Before examining the Build/Deploy, let's do a pull from our repo's master branch and investigate the files (
deployment.yml and
service.yml) Azure DevOps has added.
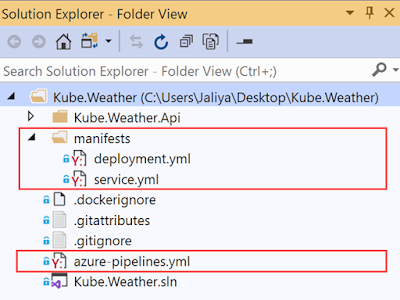 |
| Folder View |
deployment.yml
apiVersion : apps/v1beta1
kind: Deployment
metadata:
  name: kube-weather
 spec:
  replicas: 1
  template:
    metadata:
      labels:
        app: kube-weather
     spec:
      containers:
        - name: kube-weather
           image: playground01.azurecr.io/kube-weather
          ports:
          - containerPort: 80
service.yml
apiVersion: v1
kind: Service
metadata:
    name: kube-weather
spec:
    type: LoadBalancer
    ports:
    - port: 80
    selector:
        app: kube-weather
Those basically are the files that in the
previous post we have manually added with some information missing but we get the idea.
Now let's investigate the Build/Deploy, for that let's go to Pipelines -> Environments,
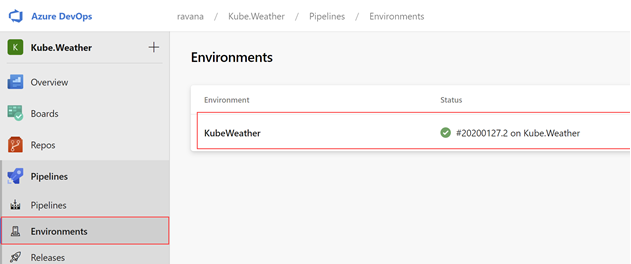 |
| Environments |
And click on the environment name.
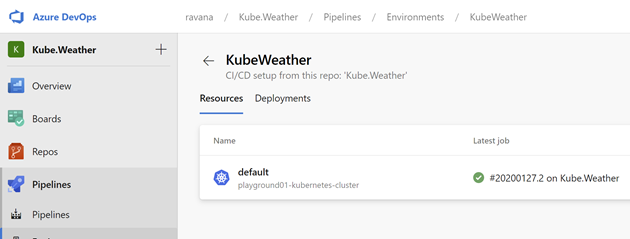 |
| Namespaces |
And you can see our namespace. Remember: we used the namespace name default.
 |
| Workloads |
And you can see the deployments. Let's click on the Services tab.
 |
| Services |
And there we have the service information. You can click on it and investigate what is inside. But here I am after the External IP.
And I am opening the
http://13.83.56.17/weatherforecast and it's running.
 |
| Running |
Hope this helps.
Happy Coding.


No comments:
Post a Comment