Wednesday, November 20, 2019

Lightning Ignite 2019: Visual Studio Online

Today at the final edition of the Auckland Azure User Group for 2019, there were some amazing lightning talks on some of the coolest announcements from Ignite all delivered by Azure enthusiasts and experts alike. And I got the pleasure of doing a lightning talk on Visual Studio Online.

I have already blogged on most of the things I spoke here. Do check it out.

These were the topics that the lightning talks were on:


Slide Deck:

Happy Coding.

Regards,
Jaliya

Saturday, November 16, 2019

Trying Out Visual Studio Online Public Preview

During this year's Microsoft Build Conference(May 2019), Microsoft first announced Visual Studio Online. And at the Ignite 2 weeks back, the public preview of Visual Studio Online is announced.

I have been trying out Visual Studio Online since then and it really has taken my heart away.

Visual Studio Online basically provides cloud-powered development environments for any type of development. It's like you have set up a virtual machine in the cloud, except you don't need to worry about setting up the OS, installing Visual Studio Code or Visual Studio. And setting up is pretty fast, mostly within like a minute. You can connect to these remote environments through a web browser, your local VS Code or Visual Studio (as of today, Visual Studio option is still in its Private Preview).

When you connected through the browser, you basically have VS Code working inside the browser itself. And when you connected to your remote environment from either of these, you are only doing the code changes in your editor, all the heavy lifting, compiling, building, debugging, restoring, etc, is happening in your remote environment. You can even open up a terminal (through VS Code) and install whatever the tools you want to configure your remote development environment and it will be accessible throughout the lifetime of your environment.

So let’s see these in action.

You need to sign up at https://online.visualstudio.com/, then create a billing plan and then you can set up as much as environments you want.
Create a Billing Plan
You can select your remote configurations as per your needs.
Create Environment
Here a nice thing is, there is an option for you to specify a Git repo, if you specify a repo, the content will be automatically cloned when the environment is setup. Now once the environment is set up, this is what it looks like and this is inside the browser itself.
Visual Studio Online
And I just opened up a terminal inside VS Code and ran dotnet --info.
dotnet --info
It’s set up with .NET Core 2.1 on Debian Linux. I have created a Web API application (I am not writing how, as you know it's dotnet new) and let’s run it.
Connecting to the forwarded port
Running


And you can debug through the browser as well.
Debugging
Now let me connect to the environment through Visual Studio Code. You can either do by clicking on the tile in Visual Studio Online dashboard or by directly from your VS Code (You need to have the Visual Studio Online extension installed).
Open in VS Code
Connect to Environment
And here, you will be asked to select the environment. Once the environment is selected and opened, you can just continue your coding you do like your local environment. And inside, Remote Explorer, you can see your environment details.
Remote Explorer
In addition to cloud-hosted environments, Visual Studio Online supports Self-hosted mode in which you can "bring your own" self-hosted environments, registering them with VS Online. For that run the VS Online: Register Local Environment command in the command palette.
Register Location Environment
But note: as of today, registering self-hosted environments while connected to a remote development environment is not yet supported.

On a final note, to use Visual Studio Online, you will need to have an Azure subscription and you will be getting billed only for the amount you use it. Idle environments automatically get suspended after reaching the auto-suspend value (which you have set when the environment was created).

I hope this helps to start off your journey with Visual Studio Online.

Happy Coding.

Cheers,
Jaliya

Thursday, November 14, 2019

Glance at Windows Terminal

I am late to the party but better late than never. I knew Windows Terminal was released a couple of months back, but I couldn't try it out myself until last night. My first impression was, it is amazing.

If you haven't had a look, I strongly suggest you should do it now. You can easily download the Windows Terminal from Microsoft Store, the Microsoft Store for Business, and GitHub. As of today, it's still in Pre-release mode, but still, it's working great.

It's a single tool and you can open up multiple tabs, you don't have to navigate between multiple windows. And most importantly, you can have multiple profiles like PowerShell, CMD, WSL and you can just open them up in tabs. And each one of them can be customized using a single JSON file to suit your preferences.

This is how my Windows Terminal looks like.
Windows Terminal
That looks wonderful, right!

And when you click on Settings, there is a whole bunch of customizations you can do through the profiles.json file. I have a bit of customization done, like below.
{
  "$schema""https://aka.ms/terminal-profiles-schema",
  "defaultProfile""{61c54bbd-c2c6-5271-96e7-009a87ff44bf}",
  "profiles": [
    {
      // Make changes here to the powershell.exe profile
      "guid""{61c54bbd-c2c6-5271-96e7-009a87ff44bf}",
      "name""Windows PowerShell",
      "commandline""powershell.exe",
      "hidden"false,
      "fontSize": 10,
      "useAcrylic"true,
      "acrylicOpacity": 0.7
    },
    {
      // Make changes here to the cmd.exe profile
      "guid""{0caa0dad-35be-5f56-a8ff-afceeeaa6101}",
      "name""cmd",
      "commandline""cmd.exe",
      "hidden"false,
      "fontSize": 10,
      "useAcrylic"true,
      "acrylicOpacity": 0.7
    },
    {
      "guid""{6e9fa4d2-a4aa-562d-b1fa-0789dc1f83d7}",
      "hidden"false,
      "name""Legacy",
      "source""Windows.Terminal.Wsl",
      "fontSize": 10,
      "useAcrylic"true,
      "acrylicOpacity": 0.7
    },
    {
      "guid""{b453ae62-4e3d-5e58-b989-0a998ec441b8}",
      "hidden"false,
      "name""Azure Cloud Shell",
      "source""Windows.Terminal.Azure",
      "fontSize": 10,
      "useAcrylic"true,
      "acrylicOpacity": 0.7
    }
  ],
  "schemes": [],
  "keybindings": [],
  "initialCols": 160,
  "initialRows": 40
}

To view the default settings, hold "alt" while clicking on the "Settings" button. And for documentation on these settings, see: check out Windows Terminal User Documentation.

This is wonderful!

Happy Coding.

Regards,
Jaliya

Saturday, November 9, 2019

Implementing Health Checks in ASP.NET Core

In the world of containerized microservices, those microservices to be able to report it's health is quite critical. I would say it's one of the crucial things to have, so your service can serve the clients without zero downtime. Based on the health status of the services, whatever the container orchestrator you are using (Kubernetes, Azure Service Fabric, AWS ECS, etc.) can decide a lot of things. Such as whether it's required to spin up new instances to maintain the availability, should it continue rolling up updates for services, etc.

Fortunately, ASP.NET Core comes with a built-in health checks feature that was released as part of ASP .NET Core 2.2. In this post, let's see how we can set up health checks for a simple ASP.NET Core Web Application.

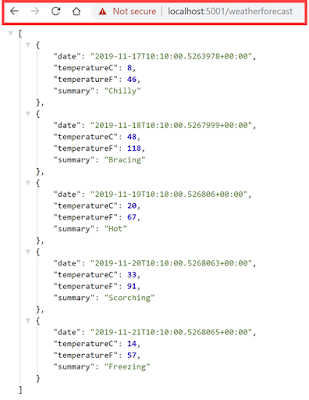
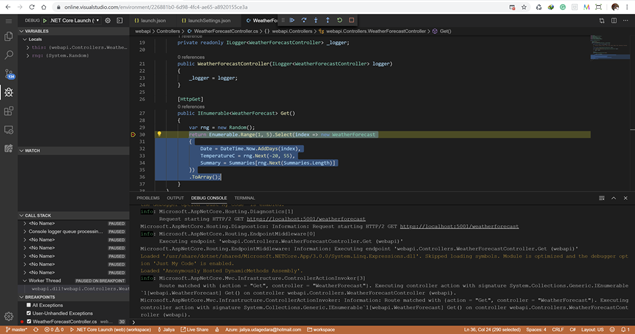
I have created an ASP.NET Core 3.1 Web Application, with the default template with Visual Studio.

To start with, you just need to register the required services and define the endpoint to report health.
public void ConfigureServices(IServiceCollection services)
{
    // Other registrations
 
    services.AddHealthChecks();
}
public void Configure(IApplicationBuilder appIWebHostEnvironment env)
{
    // Other configuration
 
    app.UseEndpoints(endpoints =>
    {
        // Other endpoint mappings
 
        endpoints.MapHealthChecks("/health");
    });
}
And now when you run the app and navigate to /health endpoint, you can see it's reporting it's default status.
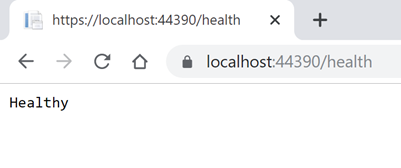
Healthy
Almost all the applications are depending on other services, such as a database, another service, etc. So ideally you want to have health checks for each of them. For that, you can easily extend your health check registration as below.
services.AddHealthChecks()
    .AddCheck("MyCheck1", () => HealthCheckResult.Healthy("I am healthy"), new List<string> { "tag1" })
    .AddCheck("MyCheck2", () => HealthCheckResult.Unhealthy("I am unhealthy"), new List<string> { "tag2" });
With above, our health endpoint will return Unhealthy, because one of the dependent services is Unhealthy.
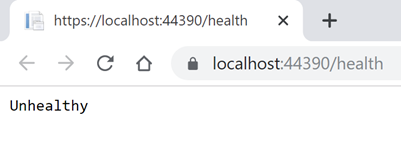
Unhealthy
You have a lot of control over determining how to implement health check logic. You just need to have a class implement IHealthCheck and implement it's CheckHealthAsync method as below.
public class ExampleHealthCheck : IHealthCheck
{
    public Task<HealthCheckResultCheckHealthAsync(HealthCheckContext context, CancellationToken cancellationToken = default)
    {
        var isHealthy = true;
 
        if (isHealthy )
        {
            return Task.FromResult(
                HealthCheckResult.Healthy("A healthy result."));
        }
 
        return Task.FromResult(
            HealthCheckResult.Unhealthy("An unhealthy result."));
    }
}
And use like below.
.AddCheck<ExampleHealthCheck>("MyCheck3"nullnew List<string> { "tag3" });
There is this nice package Xabaril/AspNetCore.Diagnostics.HealthChecks which already contains health check logic for most of the providers, so you don't have to reinvent the wheel. Please do check it out.

There is a whole lot of options to customize the health check feature, please visit the following links for more details.
   Health checks in ASP.NET Core

Happy Coding.

Regards,
Jaliya